
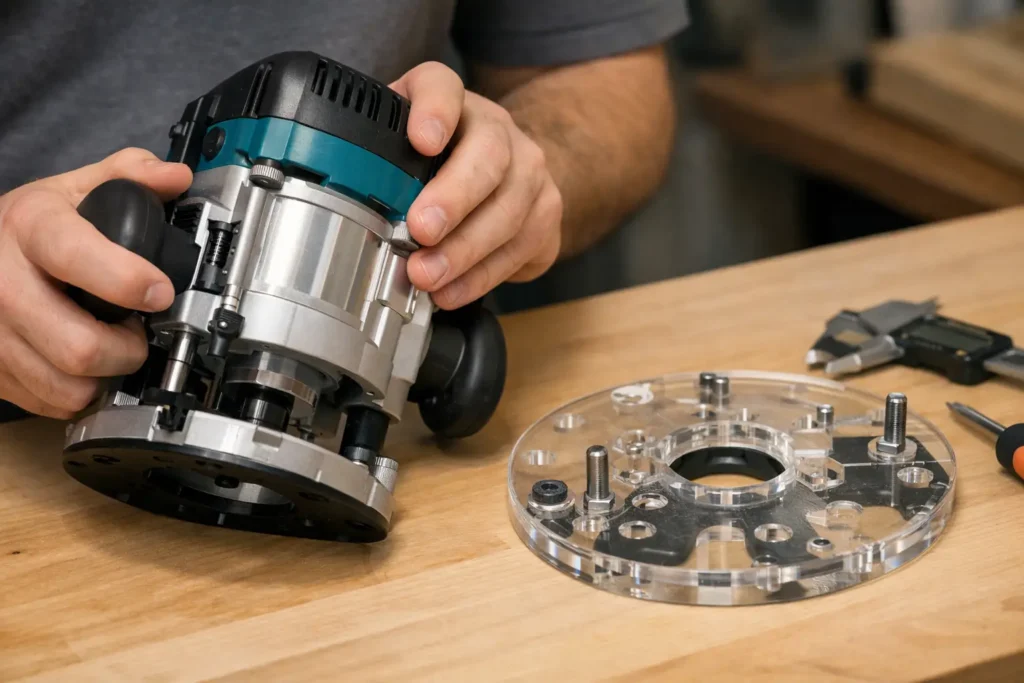
A baseplate that is nearly right is not right. Before ordering, learn how to identify router model information from the tool itself, not from a vague memory of the brand or a photo that only shows the handles. The exact model determines the mounting pattern, center opening, screw size, and clearance around the router base.
For most handheld woodworking routers, you can confirm the model in a few minutes. Start with the manufacturer label, then verify the factory sub-base and mounting-hole layout. If the label is missing or unreadable, measurements and clear photos can usually narrow the fitment down.
Start With the Router Brand and Full Model Number
The brand name is the first sorting step, but it is not enough to select a baseplate. Many manufacturers make several fixed-base, plunge-base, compact, and combination routers. Two routers from the same brand may look similar while using completely different base hardware.
Look for the rating plate, identification label, or stamped model marking on the router motor housing. Common locations include the side of the motor, the rear of the housing, near the cord exit, underneath the base, or inside the battery area on cordless models. The label often includes the brand, model number, serial number, voltage, amperage, and manufacturing information.
Write down the full model exactly as shown. Do not leave off letters, hyphens, or suffixes. A model ending in a letter may represent a kit, revision, variable-speed version, or another configuration with a different base. For example, the motor may be shared across multiple kits, but the fixed and plunge bases can have separate mounting arrangements.
If your router came as a combination kit, identify the base you plan to use with the baseplate. A baseplate mounts to the base, not simply to the motor. The same router motor installed in a fixed base versus a plunge base can require a different plate.
How to Identify Router Model When the Label Is Missing
Older tools, shop dust, worn decals, and previous owners can make the model label difficult to read. In that case, use several physical details together instead of relying on one feature.
First, remove the existing plastic sub-base if the screws are accessible. Unplug a corded router or remove the battery from a cordless router before handling the bit area or removing hardware. Set the screws aside in a small container and keep track of their original locations if they are different lengths.
With the sub-base removed, inspect the metal or molded base. Note the overall shape and diameter, the number of mounting holes, and where those holes sit relative to the bit opening. Also look for cast-in part numbers, stamped markings, or molded brand names on the underside. These identifiers can be more durable than the exterior label.
A clear set of photos is useful when comparing configurations or requesting fitment help. Photograph the top and underside of the router base, the existing sub-base, the label area, and the mounting holes. Include a tape measure or ruler in at least one underside photo so the hole spacing and center opening have a visible reference.
Verify the Base Style Before Ordering
Router model identification is only part of the job. You also need to identify the style of base currently on the router. The most common handheld configurations are fixed base, plunge base, compact or trim router base, and D-handle or specialty base.
A fixed base holds the motor at a set depth after adjustment. It commonly has two handles or a cylindrical housing with a base ring. A plunge base has spring-loaded posts that allow the motor to move vertically while cutting. Although some router motors fit both styles, their baseplates generally do not interchange.
Compact routers deserve extra attention. They may have a small round base, an offset base, a tilt base, or an accessory base designed for a specific task. Do not assume that a plate for a full-size router from the same brand will fit a trim router. The screw pattern, base diameter, and center opening are usually different.
If you have an aftermarket sub-base already installed, remove it or compare it carefully to the factory base. An aftermarket plate may cover the original hole pattern, use adapter holes, or change the apparent base diameter. The router’s original mounting points are the details that matter most for a replacement or upgrade baseplate.
Check the Mounting Pattern and Screw Details
A compatible baseplate must align with the router’s mounting holes. Count the holes used by the factory sub-base and note their pattern. Some routers use a simple three-hole or four-hole layout. Others use multiple holes for accessories, edge guides, or alternate sub-bases. Only the holes intended to secure the sub-base should be used for the baseplate.
Look at the screws as well. Measure the thread diameter and length if you are unsure whether the original hardware will work. A screw that is too long can bottom out or interfere with internal parts. A screw that is too short may not provide enough thread engagement. Do not force a screw if the threads do not start smoothly by hand.
Countersink style matters too. Most router baseplates use flat-head screws that sit flush with the surface. A proud screw head can catch on a template, workpiece, or jig and affect the cut. If the original screws are damaged, stripped, or missing, identify the thread size before replacing them rather than guessing from appearance.
Measure What a Model Number Cannot Tell You
Even with a confirmed model number, a few measurements help prevent an avoidable mismatch. Measure the outside diameter or width of the factory base, the diameter of the center opening, and the distance between mounting-hole centers. Check for raised ribs, guide-bushing openings, depth-adjustment features, or tabs that might contact the baseplate.
The center opening is especially relevant for template work, larger bits, guide bushings, and visibility. A wide opening can improve clearance, but it may provide less support close to the bit. A smaller opening supports the workpiece better around the cut but can limit the bit size or accessory options. The right choice depends on the work you do most often.
For sign work, inlays, pattern routing, and jig-based cuts, also consider how the baseplate shape will ride against a fence or template. An oversized plate can increase stability and visibility, but it may not fit into tight spaces. A plate made for a specific router model is designed around the mounting layout, yet your project may still call for a particular plate size or feature.
Avoid Common Identification Mistakes
The fastest way to order the wrong part is to identify the tool by color, handle style, or a partial model name. Manufacturers reuse design cues across tool lines, and photos on a phone screen can hide meaningful differences in the base.
Avoid these common shortcuts:
- Using the router motor model when the installed base is a different configuration.
- Matching only the brand and assuming all routers from that brand share a pattern.
- Measuring an aftermarket sub-base instead of the original router mounting points.
- Ordering from a similar-looking online image without checking the full model number.
- Ignoring a letter suffix, kit number, or generation change in the model name.
If the tool has been modified, repaired, or purchased used, take an extra minute to inspect it. Replacement bases, adapter rings, and altered screw holes can change what appears to be standard equipment.
When You Need Help With a Nonstandard Router
Some routers do not fit a standard path. This is common with discontinued models, imported tools, older professional routers, specialty bases, and routers that have already been modified for a custom jig. In those cases, a model number alone may not answer every fitment question.
Provide the full model number if available, along with photos of the underside of the base and the original sub-base. Include base diameter, center-opening size, mounting-hole spacing, and screw information when possible. Those details give a supplier enough information to evaluate whether a standard plate fits or whether a custom order is the better route.
Hobby Woodcraft organizes baseplate selection around router brand because that is the practical first filter. Still, the final check should always be the exact router model and base configuration. That small verification step is worth more than replacing a plate that was ordered on assumption.
Keep the model number, base measurements, and a few underside photos with your router manual or shop records. The next time you need a baseplate, guide-bushing setup, or replacement hardware, you will have the information ready before the router leaves the bench.